


OSRS The Knight's Sword Quest Guide: Thurgo, Blurite, and Huge Smithing XP
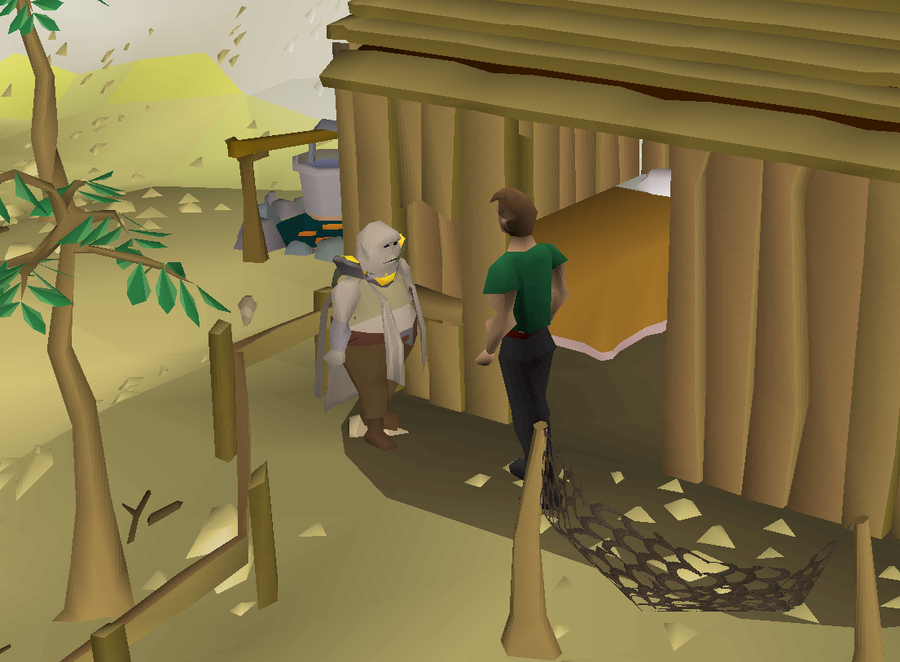
A practical F2P walkthrough of The Knight's Sword covering Squire Asrol, Reldo, Thurgo, the Falador portrait, Asgarnia Ice Dungeon blurite, iron bars, and why this quest is famous for early Smithing levels.
The Short Answer
The Knight's Sword is a free-to-play intermediate quest started with Squire Asrol in the White Knights’ Castle courtyard in Falador. Sir Vyvin’s ceremonial family sword is missing, and you rebuild the job by finding an Imcando dwarf (Thurgo), bringing a reference portrait, mining blurite ore in the Asgarnia Ice Dungeon, and supplying iron bars so Thurgo can forge a replacement blurite sword.
- Start: Squire Asrol, White Knights’ Castle courtyard (Falador).
- Key NPCs: Reldo (unless you already finished The Giant Dwarf), Thurgo at Mudskipper Point, Sir Vyvin’s room for the portrait.
- Key items called out in the route: redberry pie, the portrait, blurite ore, and iron bars.
- Big reason to do it early: the quest’s Smithing XP is large enough to jump a level-1 smith to 29, or a level-15 smith (after making iron bars) to 31.
- Notable quirk: this is the only free-to-play quest that requires a skill above level 1.
Who This Quest Is For
This is a classic early-account quest: short travel loop, one awkward cupboard steal, one dungeon run for ore, then a huge Smithing payout. It fits new F2P players, returning accounts rebuilding combat/skilling baselines, and anyone lining up easy Falador Diary progress or a spare blurite sword.
Compared with longer early unlocks like Lost City, The Knight’s Sword is more of a logistics puzzle than a combat exam. If you are mapping a fresh account toward broader quest goals, pair it with a realistic timeline from how long a Quest Cape takes.
- Great value if your Smithing is still very low.
- Useful if you want extra blurite for diary/personal sword goals.
- Usually better done yourself than outsourced — it is short once you know the portrait and Ice Dungeon path.
Prep Checklist Before You Start
Pack for three jobs: convincing Thurgo, stealing the portrait cleanly, and surviving an aggressive Ice Dungeon run long enough to mine blurite.
- Plan a redberry pie for Thurgo. If you still need ingredients, the extract notes you can grab a pie dish from the kitchen east of Reldo and pick redberries by the south-east Varrock mine.
- Bring whatever combat food/armour you need to run through aggressive monsters in the Asgarnia Ice Dungeon.
- Leave inventory space for the portrait, blurite ore, iron bars, and the finished sword.
- If you already completed The Giant Dwarf, you can skip Reldo and go straight to Thurgo after starting with the squire.
- Members who expect to do The Giant Dwarf soon after may want an extra redberry pie for Thurgo now to avoid a return trip later.
| Stop | Where | What you do |
|---|---|---|
| Squire Asrol | Falador White Knights’ Castle courtyard | Start quest; later turn in sword |
| Reldo | Varrock Palace library (northernmost ground-floor room) | Learn about Imcando dwarves (skippable if Giant Dwarf is already done) |
| Thurgo | Hut with anvil, west side of hill south of Port Sarim / Mudskipper Point | Pie, portrait hand-in, forge blurite sword |
| Sir Vyvin’s cupboard | Upstairs in White Knights’ Castle | Take portrait when Sir Vyvin is not watching |
| Asgarnia Ice Dungeon | Ladder on the hill north-east of Thurgo’s area | Mine bright blue blurite rocks in the icy room |
- Stop
- Squire Asrol
- Where
- Falador White Knights’ Castle courtyard
- What you do
- Start quest; later turn in sword
- Stop
- Reldo
- Where
- Varrock Palace library (northernmost ground-floor room)
- What you do
- Learn about Imcando dwarves (skippable if Giant Dwarf is already done)
- Stop
- Thurgo
- Where
- Hut with anvil, west side of hill south of Port Sarim / Mudskipper Point
- What you do
- Pie, portrait hand-in, forge blurite sword
- Stop
- Sir Vyvin’s cupboard
- Where
- Upstairs in White Knights’ Castle
- What you do
- Take portrait when Sir Vyvin is not watching
- Stop
- Asgarnia Ice Dungeon
- Where
- Ladder on the hill north-east of Thurgo’s area
- What you do
- Mine bright blue blurite rocks in the icy room
Quest Walkthrough
1) Start with Squire Asrol in Falador
Talk to the squire in the White Knights’ Castle courtyard. He has lost Sir Vyvin’s sword — a family heirloom originally made by the Imcando dwarves. Offer to make a new one. He points you toward Reldo, the Varrock Palace librarian, as someone who may know where an Imcando dwarf can still be found.
2) Reldo, then Mudskipper Point
If you have not completed The Giant Dwarf, go to Reldo in the Varrock Palace library (northernmost room on the ground floor). Ask what he knows about Imcando dwarves. He directs you toward Mudskipper Point, just south of Port Sarim.
If The Giant Dwarf is already done, skip Reldo and go straight to Thurgo after starting with the squire.
3) Feed Thurgo, then learn he needs a reference
Head south of Port Sarim to Thurgo’s hut with the anvil on the west side of the hill. Ask if he would like some redberry pie — he takes it and eats it. Then ask about making a special sword. Thurgo wants a picture of the lost sword as a reference before he will continue.
4) Get the portrait from Sir Vyvin’s room
Return to the squire in Falador. He explains that a portrait of Sir Vyvin’s father includes the sword. Important: you must have spoken to the squire about this before you can obtain the portrait.
From the courtyard, go east through three doors, then up the ladder. Go west through the door, continue west through the open doorway, then up the staircase. Sir Vyvin’s room is directly south.
Search the cupboard for the portrait. If Sir Vyvin is inside the room and looking toward you, he will stop you. Open the door and wait for him to walk out, or hop worlds until he is outside the room, then take the portrait quickly.
5) Mine blurite in the Asgarnia Ice Dungeon
Give Thurgo the portrait. He now knows the replacement must be a blurite sword, and you must obtain blurite ore. The ore is only found in the Asgarnia Ice Dungeon on the hill to the north-east of his area.
All enemies in the dungeon are aggressive, so be ready to run. Climb down the ladder on the hill, run north until you reach the pirates, then head east down the first corridor into the large icy room. Bright blue rocks there are the blurite ore nodes.
At the south-eastern end of the icy room is an entrance toward the skeletal wyverns section. Standing directly in front of that entrance is a safespot you can use until it is safe to mine nearby rocks.
6) Forge and hand in the sword
Return to Thurgo with your blurite ore and iron bars. He smiths the blurite sword for you.
If you want a sword for yourself as well, drop the finished sword, ask Thurgo for a replacement, then pick up the dropped sword again so you keep a spare.
Take a blurite sword back to Squire Asrol. He takes one sword and the quest completes. If you try to finish while the blurite sword is equipped, he asks you to unequip it and hand it over.
Smithing XP and Why Players Rush This Quest
The extract highlights why The Knight’s Sword is more than a filler Falador storyline: the Smithing experience is enormous for an early quest. Starting from Smithing level 1, completion levels you to 29. If you begin at 15 Smithing in order to create the iron bars, completion levels you to 31.
That single reward is why many guides push the quest early on F2P and iron pathways. Exact XP numbers are not listed in the provided extract, so treat the level-jump examples above as the grounded takeaway and verify the raw XP figure on the Wiki if you need it for a spreadsheet.
Practical Tips and Common Mistakes
- Do not go portrait-hunting before the squire tells you about it — the extract says you must speak to him first.
- Bring the redberry pie before expecting Thurgo to help; the pie is the relationship unlock.
- Clear space for ore extras if diary/personal sword goals matter to you.
- Use the icy-room safespot near the south-east entrance if aggressive monsters are overwhelming your mining clicks.
- Members planning The Giant Dwarf soon can save a trip by giving Thurgo an additional redberry pie during this questline.
- Unequip the blurite sword before the final hand-in if the squire refuses to take it.
Completion of The Knight’s Sword is required for Prying Times. If you are chaining achievement content, mark that unlock after you finish.
FAQ
Is The Knight’s Sword free-to-play?
Yes. The extract describes it as a free-to-play intermediate quest.
Do I always need to talk to Reldo?
No. If you have already completed The Giant Dwarf, skip Reldo and go straight to Thurgo after starting with the squire. Otherwise you must talk to Reldo before continuing.
Where do I get blurite ore?
Only in the Asgarnia Ice Dungeon, via the ladder on the hill north-east of Thurgo’s area. Run north to the pirates, then east into the large icy room with bright blue rocks.
Can I keep a blurite sword?
Yes. The extract’s method is to drop the first sword, ask Thurgo for another, then pick up the dropped one so you retain a spare. Mining extra blurite supports that plan.
How much Smithing do I get?
The extract does not state the raw XP number, but it does state the level outcome: 1 → 29 Smithing, or 15 → 31 if you started at 15 to make iron bars. Verify the exact XP on the OSRS Wiki if you need the precise figure.
Is this quest worth paying a service for?
Usually no. It is short and mostly routing knowledge. Longer or more miserable quest stacks are better candidates if you ever use help — see which quests are worth outsourcing. Bils Services has offered hand-done OSRS help since 2018, but a quest this compact is ideal practice on your own account.
Related Guides
- OSRS Lost City Quest Guide — another major early/F2P quest with a clear unlock payoff.
- OSRS Questing Service: Which Quests Are Worth Outsourcing? — when to self-clear short quests versus longer grinds.
- How Long Does an OSRS Quest Cape Take From a Fresh Account? — place early quests like this inside a full account plan.
- Quests hub — broader quest help and account progression options.
- Skills — if the Smithing jump is part of a wider training plan.
Bottom Line
The Knight’s Sword is a tight Falador story with one memorable cupboard steal, one aggressive ore run, and one of the best early Smithing rewards in free-to-play. Start with Squire Asrol, unlock Thurgo with redberry pie (via Reldo unless Giant Dwarf is already done), grab the portrait when Sir Vyvin is not watching, mine blurite in the Asgarnia Ice Dungeon, bring iron bars for the forge step, and hand the sword back unequipped.
Do it yourself, mine a little extra blurite if diary or a personal sword matters, and double-check any missing numeric requirements on the OSRS Wiki before you commit a trip. For most accounts, this is a “clear it once, enjoy the Smithing levels forever” quest — exactly the kind of efficient early progress Bils Services has helped players plan around since 2018.
Quest routes and rewards can change with game updates. Verify requirements, item quantities, and XP figures on the OSRS Wiki before you start. Bils Services provides hand-done OSRS help since 2018 — never share passwords or account recovery details with anyone.
Need a trusted team? Bils Services
Enjoyed the guide?
Drop a like — it helps other Adventurers find the good stuff.
Community
Comments
Silence in the hall…
Be the first Adventurer to leave a mark.
Join the thread
Add a comment
Tips, drops, or “this carried my account” — keep it useful.
bilsservices · bils services · bilsservices.com
