


OSRS Fire Cape Guide: Fight Caves Waves, Gear and Jad Strategy
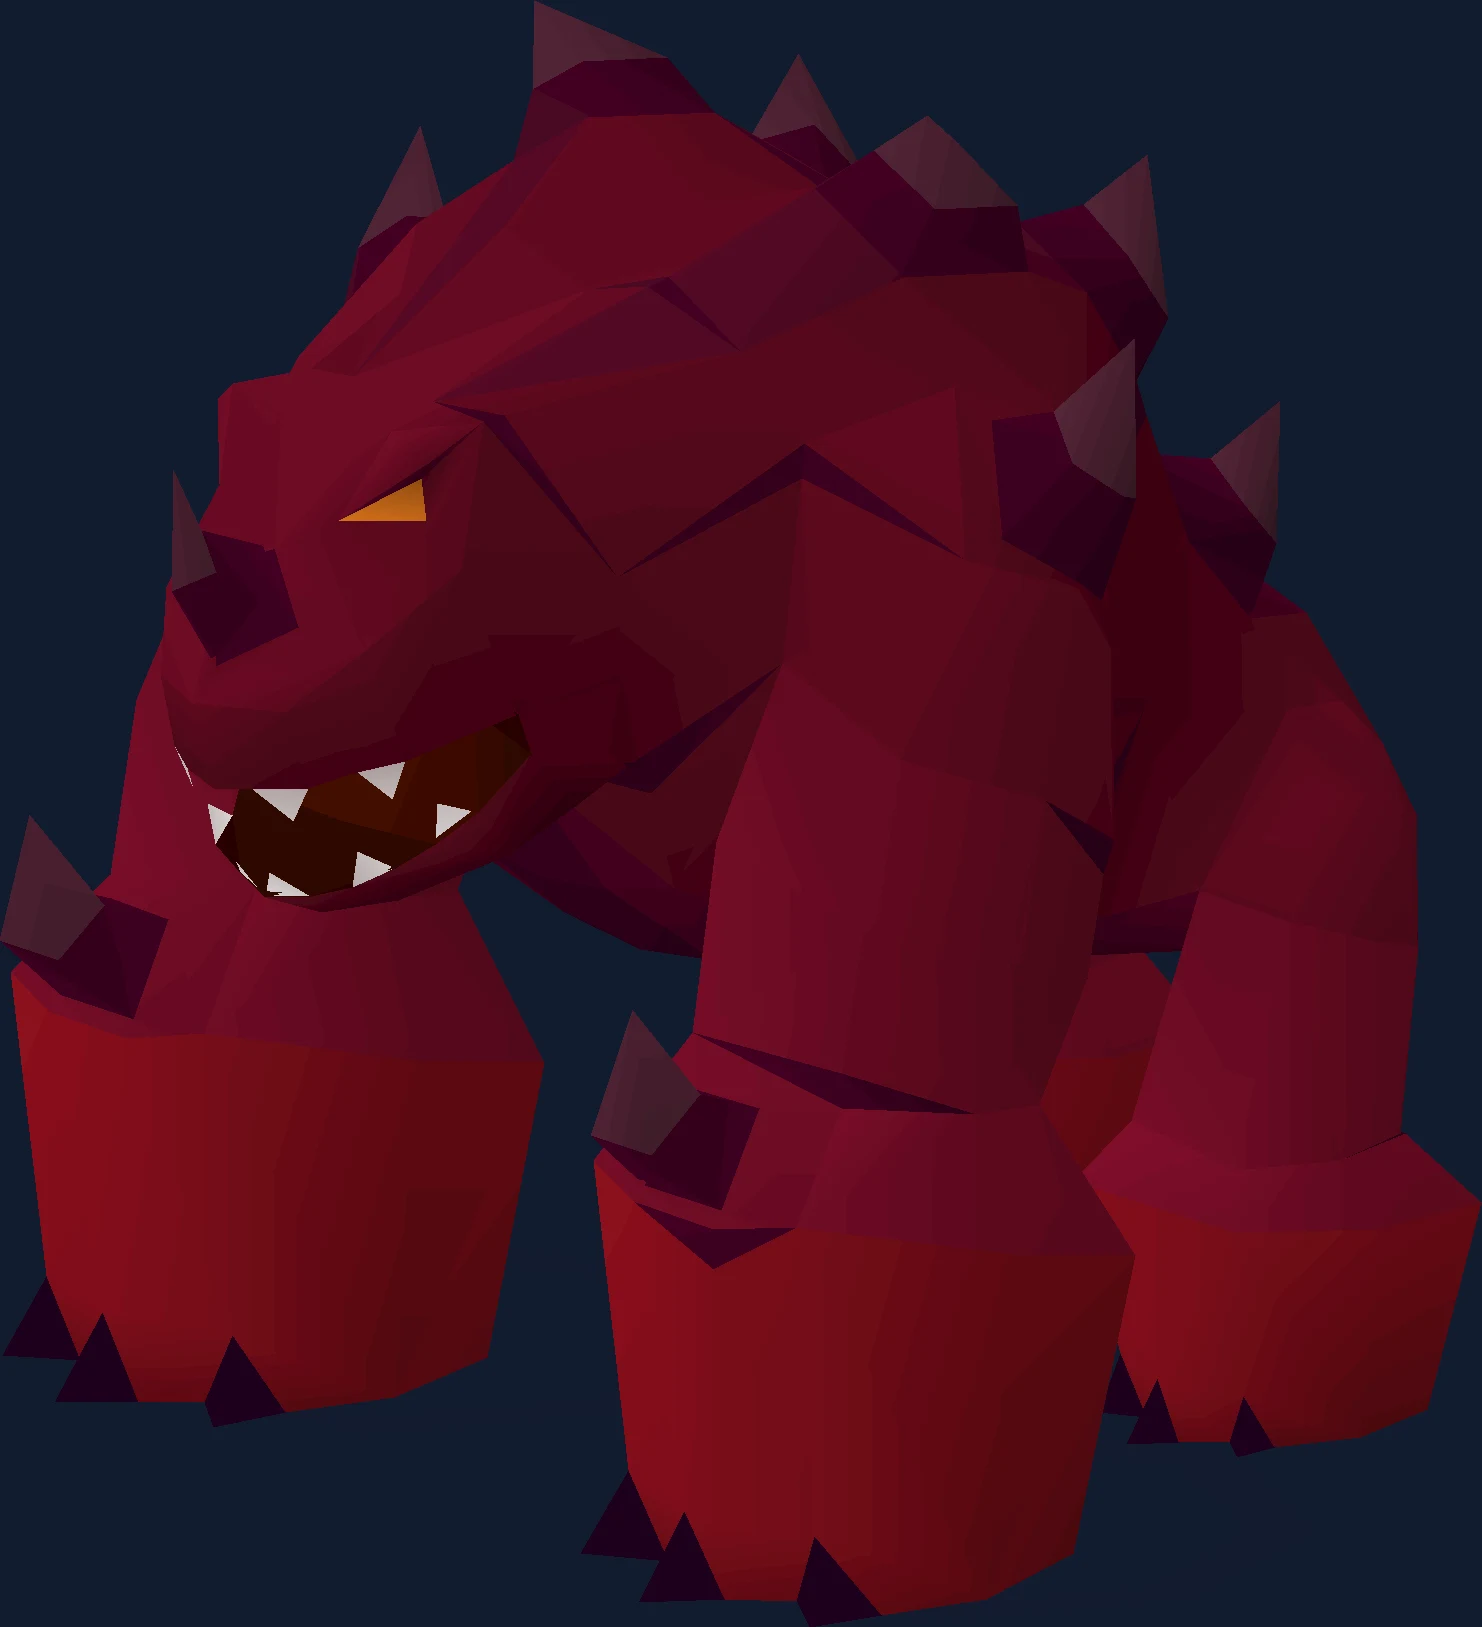
How to actually get a fire cape: every Fight Caves monster and its threat, the pillar strategy that makes 63 waves survivable, gear at three budgets, and how to pray against Jad without panicking.
Overview
The Fight Caves is a 63-wave solo gauntlet in Mor Ul Rek that ends with TzTok-Jad. Clearing it awards the fire cape, which was the best melee cape in the game for years and is still the standard proof that a player can hold prayer switches under pressure.
The waves themselves are not hard. What makes the Fight Caves difficult is duration: it is a long run with no bank, no safe pause, and a single boss at the end who can kill a full-health player in two attacks if you pray wrong.
This guide covers what each monster actually threatens you with, why the pillar strategy exists, the gear that makes the run comfortable, and how to handle Jad's attacks and healers.
| Detail | Value |
|---|---|
| Type | Solo wave challenge |
| Location | TzHaar Fight Cave, Mor Ul Rek (Karamja volcano) |
| Hard requirement | None — access is open |
| Waves | 63, with TzTok-Jad on the final wave |
| Solo or team | Solo only |
| Reward | Fire cape, Tzrek-Jad pet |
| Defining skill | Prayer switching off attack animations |
- Detail
- Type
- Value
- Solo wave challenge
- Detail
- Location
- Value
- TzHaar Fight Cave, Mor Ul Rek (Karamja volcano)
- Detail
- Hard requirement
- Value
- None — access is open
- Detail
- Waves
- Value
- 63, with TzTok-Jad on the final wave
- Detail
- Solo or team
- Value
- Solo only
- Detail
- Reward
- Value
- Fire cape, Tzrek-Jad pet
- Detail
- Defining skill
- Value
- Prayer switching off attack animations
Requirements and Access
There is no quest or level gate on the Fight Caves, which is exactly the trap. Attempting it underlevelled means an hour of waves followed by a guaranteed death.
| Requirement | Detail |
|---|---|
| Quest requirement | None. You can walk in at any combat level. |
| 43 Prayer | Mandatory in practice — you need Protect from Missiles and Protect from Magic. |
| Ranged 70+ or a strong melee setup | Ranged is the standard because it lets you fight everything from a distance. |
| Hitpoints 70+ | Jad's attacks hit extremely hard; low HP leaves no margin for one mistake. |
| No banking mid-run | Everything you bring is everything you get. Plan the full 63 waves. |
- Requirement
- Quest requirement
- Detail
- None. You can walk in at any combat level.
- Requirement
- 43 Prayer
- Detail
- Mandatory in practice — you need Protect from Missiles and Protect from Magic.
- Requirement
- Ranged 70+ or a strong melee setup
- Detail
- Ranged is the standard because it lets you fight everything from a distance.
- Requirement
- Hitpoints 70+
- Detail
- Jad's attacks hit extremely hard; low HP leaves no margin for one mistake.
- Requirement
- No banking mid-run
- Detail
- Everything you bring is everything you get. Plan the full 63 waves.
You keep your items on death in the Fight Caves, so a failed attempt costs time and supplies rather than your gear. That makes practice runs genuinely worthwhile.
Getting There
The Fight Caves entrance is inside Mor Ul Rek, reached through the Karamja volcano.
- Teleport to Karamja — a fairy ring, the Brimhaven route, or a TzHaar teleport if you have one.
- Enter the volcano and travel through Mor Ul Rek to the Fight Cave entrance.
- Speak to TzHaar-Mej-Jal to start. Once you enter, there is no going back to a bank.
Set your death or escape teleport before you start. Finishing 62 waves and then fumbling a teleport is a genuinely common way to lose a run.
Recommended Stats
You can technically enter at any level. These are the stats where the run stops being a coin flip.
| Stat | Comfortable | Why |
|---|---|---|
| Ranged | 75+ | Most of the run is killing things at distance before they reach you. |
| Hitpoints | 75+ | Jad can two-shot a player who is not comfortably above 70 HP. |
| Prayer | 43 minimum, 60+ comfortable | You need prayer points to last 63 waves, not just the ability to cast. |
| Defence | 60+ | Helps with the melee waves; irrelevant against Jad if you pray correctly. |
| Magic | Not required | Ranged handles everything; magic is only relevant for niche setups. |
- Stat
- Ranged
- Comfortable
- 75+
- Why
- Most of the run is killing things at distance before they reach you.
- Stat
- Hitpoints
- Comfortable
- 75+
- Why
- Jad can two-shot a player who is not comfortably above 70 HP.
- Stat
- Prayer
- Comfortable
- 43 minimum, 60+ comfortable
- Why
- You need prayer points to last 63 waves, not just the ability to cast.
- Stat
- Defence
- Comfortable
- 60+
- Why
- Helps with the melee waves; irrelevant against Jad if you pray correctly.
- Stat
- Magic
- Comfortable
- Not required
- Why
- Ranged handles everything; magic is only relevant for niche setups.
Gear Setups: Budget, Mid and Best in Slot
Ranged with a crossbow or blowpipe is the standard approach because it lets you kill the dangerous monsters before they close distance. Prayer bonus matters more here than raw damage, because running out of prayer at wave 50 ends the run just as surely as dying.
| Slot | Budget | Mid | Best in slot |
|---|---|---|---|
| Weapon | Rune crossbow | Toxic blowpipe | Toxic blowpipe / Twisted bow |
| Ammunition | Broad bolts | Amethyst or rune darts | Dragon darts |
| Head | Helm of neitiznot | Karil's coif | Masori mask (f) |
| Body | Black d'hide body | Karil's leathertop | Masori body (f) |
| Legs | Black d'hide chaps | Karil's leatherskirt | Masori chaps (f) |
| Cape | Ava's accumulator | Ava's assembler | Ava's assembler |
| Amulet | Amulet of glory | Amulet of fury | Necklace of anguish |
| Ring | Explorer's ring | Archers ring | Venator ring |
| Gloves | Combat bracelet | Barrows gloves | Zaryte vambraces |
| Boots | Snakeskin boots | Ranger boots | Pegasian boots |
- Slot
- Weapon
- Budget
- Rune crossbow
- Mid
- Toxic blowpipe
- Best in slot
- Toxic blowpipe / Twisted bow
- Slot
- Ammunition
- Budget
- Broad bolts
- Mid
- Amethyst or rune darts
- Best in slot
- Dragon darts
- Slot
- Head
- Budget
- Helm of neitiznot
- Mid
- Karil's coif
- Best in slot
- Masori mask (f)
- Slot
- Body
- Budget
- Black d'hide body
- Mid
- Karil's leathertop
- Best in slot
- Masori body (f)
- Slot
- Legs
- Budget
- Black d'hide chaps
- Mid
- Karil's leatherskirt
- Best in slot
- Masori chaps (f)
- Slot
- Cape
- Budget
- Ava's accumulator
- Mid
- Ava's assembler
- Best in slot
- Ava's assembler
- Slot
- Amulet
- Budget
- Amulet of glory
- Mid
- Amulet of fury
- Best in slot
- Necklace of anguish
- Slot
- Ring
- Budget
- Explorer's ring
- Mid
- Archers ring
- Best in slot
- Venator ring
- Slot
- Gloves
- Budget
- Combat bracelet
- Mid
- Barrows gloves
- Best in slot
- Zaryte vambraces
- Slot
- Boots
- Budget
- Snakeskin boots
- Mid
- Ranger boots
- Best in slot
- Pegasian boots
Prayer bonus gear is worth real consideration on a budget run. A run that ends because you ran dry on prayer potions is not a gear problem, it is a planning problem.
Inventory and Supplies
You cannot restock, so the inventory is the strategy. Most failed runs are supply failures, not skill failures.
- Prayer potions or super restores — the majority of your inventory, and the item people under-bring.
- Food: sharks or better; saradomin brews plus restores if you expect to tank hits.
- A ranging potion or two for the Jad wave specifically.
- Extra ammunition — running out of darts or bolts at wave 60 is unrecoverable.
- An escape teleport, in case you need to abandon a run cleanly.
- Optionally a defensive shield switch for melee waves while you reposition.
Split your food and prayer restores mentally: the first 62 waves are a prayer-potion problem, and Jad is a food problem. Under-bringing either one loses the run.
Mechanics You Have to Respect
Each Fight Caves monster threatens you in a different way, and knowing which one to kill first is most of the strategy. The pillars in the arena exist so you can break line of sight and force monsters to bunch up.
| Mechanic | What it does | Correct response |
|---|---|---|
| Tz-Kih (bat) | Drains your prayer points on hit — the single biggest threat to finishing the run. | Kill these first, always. Losing prayer is worse than losing health. |
| Tz-Kek (blob) | Splits into two smaller versions when killed. | Kill them when you have space, not when you are already surrounded. |
| Tok-Xil (ranger) | Ranged attacks that hit hard through incorrect prayer. | Protect from Missiles and kill at range. |
| Yt-MejKot (melee) | Melee attacker that also heals other monsters in the wave. | Break line of sight with a pillar, or kill it before it heals the wave back up. |
| Ket-Zek (mager) | Powerful magic attacks; the most dangerous non-Jad monster. | Protect from Magic and prioritise it once bats are dead. |
| TzTok-Jad | Uses both a magic attack and a ranged attack, each with a distinct animation, and hits for potentially fatal damage. | Switch prayer based on the animation, not on a timer. Magic animation means Protect from Magic; ranged animation means Protect from Missiles. |
| Yt-HurKot (Jad's healers) | Spawn when Jad drops to roughly half health and heal him rapidly. | Pull them away from Jad and kill or tank them; letting them heal freely resets the fight. |
- Mechanic
- Tz-Kih (bat)
- What it does
- Drains your prayer points on hit — the single biggest threat to finishing the run.
- Correct response
- Kill these first, always. Losing prayer is worse than losing health.
- Mechanic
- Tz-Kek (blob)
- What it does
- Splits into two smaller versions when killed.
- Correct response
- Kill them when you have space, not when you are already surrounded.
- Mechanic
- Tok-Xil (ranger)
- What it does
- Ranged attacks that hit hard through incorrect prayer.
- Correct response
- Protect from Missiles and kill at range.
- Mechanic
- Yt-MejKot (melee)
- What it does
- Melee attacker that also heals other monsters in the wave.
- Correct response
- Break line of sight with a pillar, or kill it before it heals the wave back up.
- Mechanic
- Ket-Zek (mager)
- What it does
- Powerful magic attacks; the most dangerous non-Jad monster.
- Correct response
- Protect from Magic and prioritise it once bats are dead.
- Mechanic
- TzTok-Jad
- What it does
- Uses both a magic attack and a ranged attack, each with a distinct animation, and hits for potentially fatal damage.
- Correct response
- Switch prayer based on the animation, not on a timer. Magic animation means Protect from Magic; ranged animation means Protect from Missiles.
- Mechanic
- Yt-HurKot (Jad's healers)
- What it does
- Spawn when Jad drops to roughly half health and heal him rapidly.
- Correct response
- Pull them away from Jad and kill or tank them; letting them heal freely resets the fight.
Use the pillars deliberately. Standing in the open with a full wave visible is how runs end at wave 55 rather than wave 63. Wave-by-wave compositions are listed on the OSRS Wiki Fight Caves page.
Run Plan: Waves 1 to 63
Treat the run as three separate problems: the early waves are practice, the middle waves are a prayer-management exercise, and Jad is a reaction test.
- Waves 1–14: kill everything comfortably and get used to the spawn positions. Do not waste supplies here.
- From wave 15 onward, kill every Tz-Kih bat first in every wave. This is non-negotiable.
- Use a pillar to break line of sight whenever a wave contains both a ranger and a mager, so you only face one style at a time.
- Kill Yt-MejKot before it heals other monsters, or line-of-sight it away while you clear the rest.
- Track prayer potions against waves remaining. If you are burning more than expected, start using pillars more aggressively rather than tanking.
- Before wave 63, top up health and prayer fully and drink a ranging potion.
- On Jad, watch the animation and switch prayer to match. Do not attack until your prayer is correct.
- When healers spawn, run away from Jad to pull them off, then deal with them while keeping the correct prayer up.
- Finish Jad, and only then relax. People die to healers after the hard part is over.
If your prayer switching against Jad is not reliable, practise on a Jad simulator or against the triple Jads description before spending an hour on waves.
Solo Versus Team
The Fight Caves is solo only. There is no way to bring help, which is part of why the fire cape carries weight as a signal of individual skill.
If you want the same challenge as a team, there is no direct equivalent — the closest progression step is Fortis Colosseum, which is also solo but scales difficulty with modifiers you choose.
The natural next step after a fire cape is the Inferno, which is the same idea with far less forgiveness.
Common Mistakes and What Actually Kills You
Fight Caves failures are overwhelmingly about supplies and priorities rather than mechanical skill.
- Not killing Tz-Kih bats first, then running out of prayer in the 50s.
- Bringing too little prayer restore because the early waves felt easy.
- Ignoring the pillars and fighting whole waves in the open.
- Letting Yt-MejKot heal the wave repeatedly.
- Praying against Jad on a rhythm instead of on the animation.
- Attacking Jad while your prayer is still wrong.
- Panicking when healers spawn and staying next to Jad.
- Running out of ammunition because you brought exactly enough for a perfect run.
Drops Worth Knowing
The Fight Caves is not a money boss. You go once for the cape, and possibly repeatedly for the pet.
| Drop | Why it matters |
|---|---|
| Fire cape | The reward for clearing wave 63. Long-standing melee cape benchmark. |
| Tzrek-Jad | The pet, offered after a successful Jad kill at a low chance. |
| Tokkul | Currency for the TzHaar shops, earned throughout the run. |
- Drop
- Fire cape
- Why it matters
- The reward for clearing wave 63. Long-standing melee cape benchmark.
- Drop
- Tzrek-Jad
- Why it matters
- The pet, offered after a successful Jad kill at a low chance.
- Drop
- Tokkul
- Why it matters
- Currency for the TzHaar shops, earned throughout the run.
Combat Achievements
Fight Caves Combat Achievements focus on clean execution rather than speed: finishing without losing prayer points to bats, completing the caves with restrictions, and handling Jad without taking damage from healers.
Get the cape first. Restricted attempts are much cheaper once you already know the wave order and Jad's animations.
Ironman Notes
For an Ironman the fire cape is a major milestone because it is a best-in-class melee cape you cannot buy, and it needs no drops or trading to obtain — only supplies you can make.
The practical constraint is prayer potions. Farm herbs and stockpile before the attempt rather than trying to scrape together enough for one run.
Broad bolts from Slayer points are a very Ironman-friendly ammunition choice here — see the Slayer 1–99 guide for unlocking them.
FAQ
What level should I be for the fire cape?
Around 75 Ranged and 75 Hitpoints with 43+ Prayer makes the run reasonable. Lower is possible but turns a long run into a coin flip at Jad.
Do I lose my items if I die in the Fight Caves?
No. You keep your items, so a failed attempt costs time and supplies rather than gear. That makes practice runs genuinely low-risk.
How do I pray against Jad?
React to the animation, not a timer. The magic attack and ranged attack have visibly different wind-ups; switch prayer to match and do not attack until it is correct.
What do I do about Jad's healers?
Run away from Jad so the healers follow you, then kill or tank them away from him while keeping the correct prayer up. Leaving them next to Jad undoes your progress.
Which monster should I always kill first?
Tz-Kih, the bats. They drain prayer, and prayer is the resource that decides whether you reach wave 63.
Is the fire cape still worth it?
Yes — it is a strong melee cape and a hard requirement in spirit for the Inferno. It is also the cheapest way to learn the prayer switching every later challenge demands.
Related Guides
- Inferno guide — the fire cape's much harder sequel.
- Triple Jads guide — Jad practice taken to its extreme.
- Fortis Colosseum guide — the other solo wave challenge.
- Which boss should you learn first? — where the caves sit in the ladder.
- Prayer 1–99 — getting the prayer levels that make this easier.
- OSRS bosses index — every boss with its requirement.
Bottom Line
The fire cape is a supply-management test with a reaction test at the end. Kill bats first, use the pillars, bring more prayer restore than feels necessary, and pray against Jad off his animation.
You keep your items on death, so there is no reason to avoid a practice run. Most people clear it on their second or third serious attempt.
If you want the cape without the hour, our cape services handle it hand-done — and the Inferno is the natural follow-up either way.
Mechanics and drop rates change with updates. Verify current details on the Old School RuneScape Wiki.
Need a trusted team? Bils Services
Enjoyed the guide?
Drop a like — it helps other Adventurers find the good stuff.
Community
Comments
Silence in the hall…
Be the first Adventurer to leave a mark.
Join the thread
Add a comment
Tips, drops, or “this carried my account” — keep it useful.
bilsservices · bils services · bilsservices.com

