


OSRS Inferno Guide: Waves, Gear, Supplies and Zuk Strategy
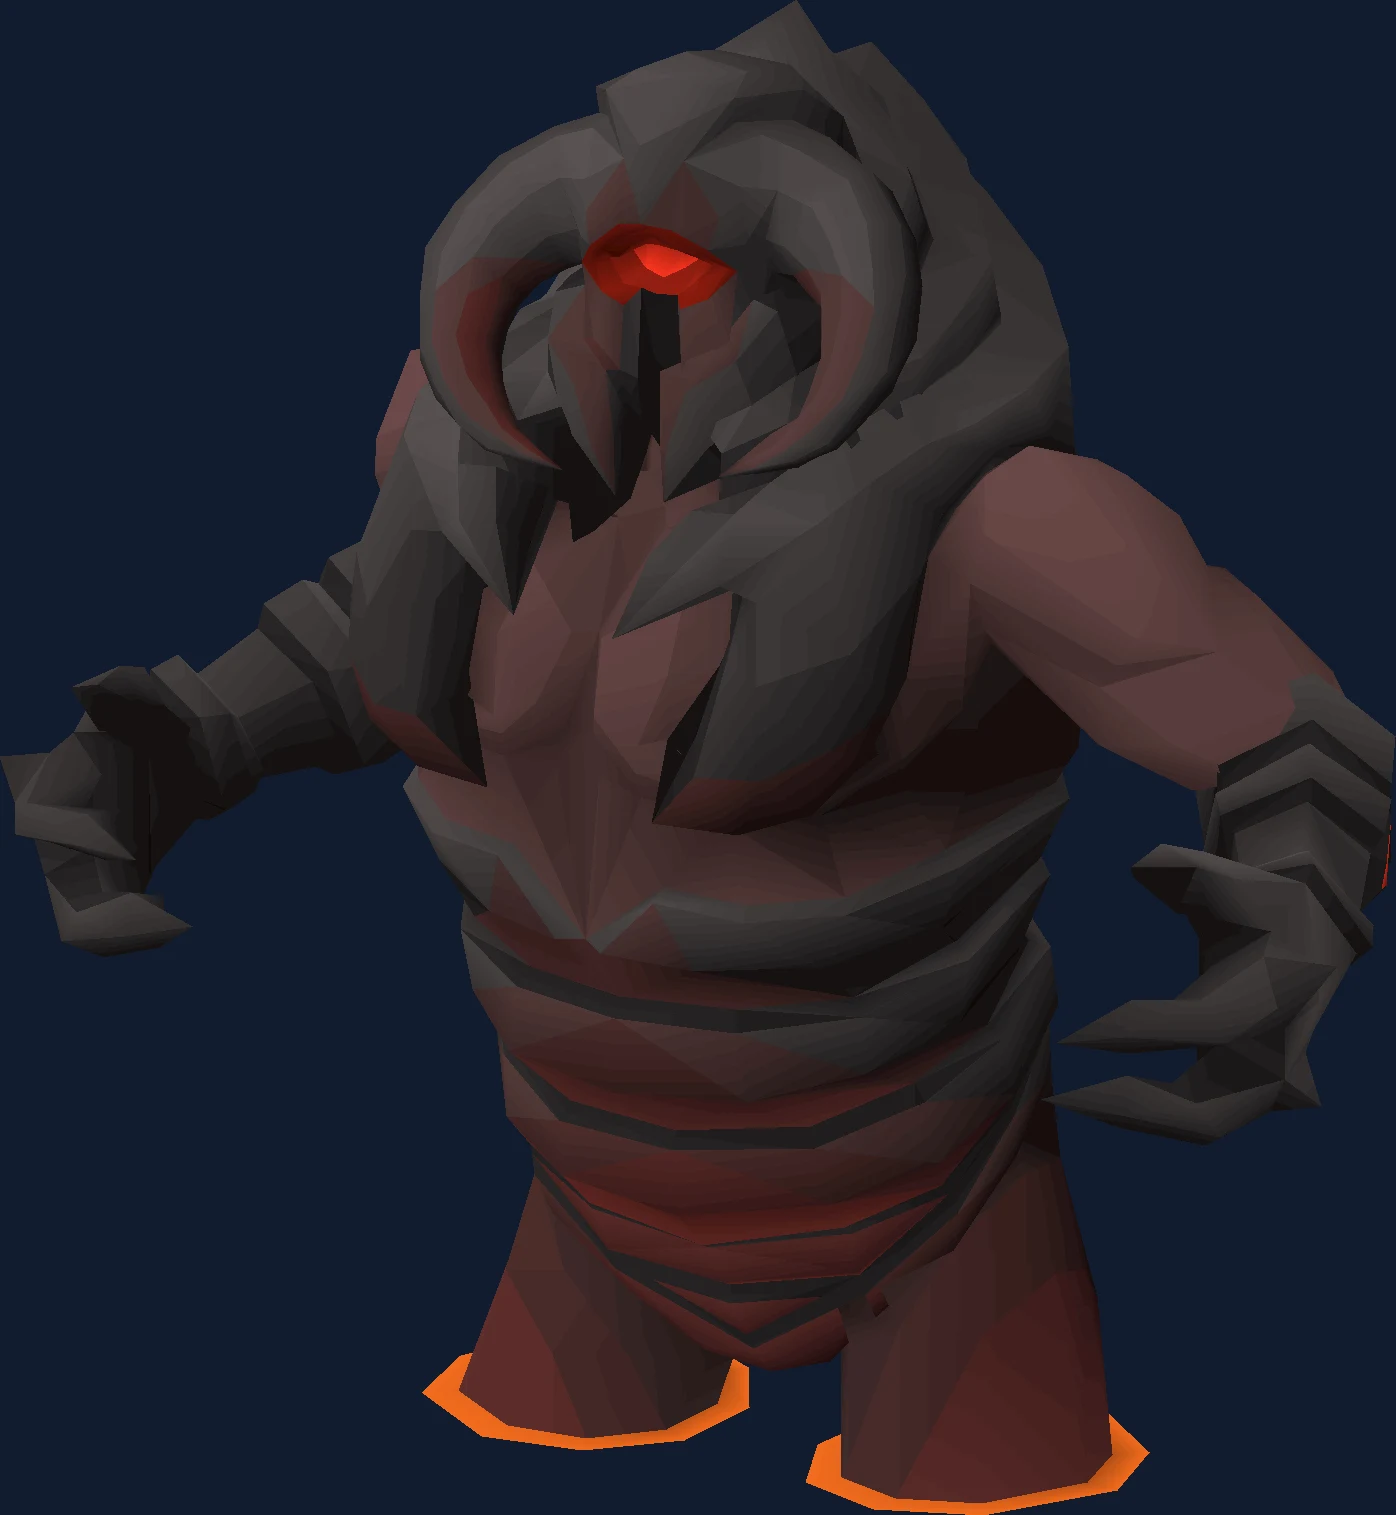
The Inferno explained honestly: every monster type and how it kills you, the pillar and safespot logic behind wave clearing, supply planning for a run with no bank, triple Jads, and Zuk's shield and healer phases.
Overview
The Inferno is a 69-wave solo gauntlet ending in TzKal-Zuk, and the infernal cape it awards is the best melee cape in the game. It is also the single longest uninterrupted skill test in Old School RuneScape: one run takes well over an hour, there is no bank, and one mistake in the wrong wave ends everything.
The Inferno is not the Fight Caves with bigger numbers. Monsters revive, split, drain prayer and heal each other simultaneously, the arena has fewer safe options, and wave 69 puts three Jads in the room at once before you even reach Zuk.
This guide covers what each Inferno monster actually does, why pillar management is the entire mid-game of a run, how to plan supplies for something you cannot restock, and how Zuk's shield and healers work.
| Detail | Value |
|---|---|
| Type | Solo wave challenge |
| Location | Inferno, Mor Ul Rek (Karamja volcano) |
| Hard requirement | Inferno access — no quest gate |
| Waves | 69, then TzKal-Zuk |
| Solo or team | Solo only |
| Reward | Infernal cape, Jal-Nib-Rek pet |
| Realistic prerequisite | A comfortable fire cape and reliable prayer switching |
- Detail
- Type
- Value
- Solo wave challenge
- Detail
- Location
- Value
- Inferno, Mor Ul Rek (Karamja volcano)
- Detail
- Hard requirement
- Value
- Inferno access — no quest gate
- Detail
- Waves
- Value
- 69, then TzKal-Zuk
- Detail
- Solo or team
- Value
- Solo only
- Detail
- Reward
- Value
- Infernal cape, Jal-Nib-Rek pet
- Detail
- Realistic prerequisite
- Value
- A comfortable fire cape and reliable prayer switching
Requirements and Access
The Inferno has no quest requirement, which misleads people badly. The real requirements are mechanical and logistical, not stat-based.
| Requirement | Detail |
|---|---|
| Quest requirement | None. Access is open through Mor Ul Rek. |
| Fire cape (in practice) | Not enforced, but attempting the Inferno without clearing the Fight Caves comfortably is a waste of an hour. |
| Prayer switching | You must switch protection prayers reliably under pressure, repeatedly, for over an hour. |
| No banking | Everything you bring is everything you get for 69 waves plus Zuk. |
| High Ranged and Hitpoints | Ranged carries the run; low HP means single mistakes become deaths. |
- Requirement
- Quest requirement
- Detail
- None. Access is open through Mor Ul Rek.
- Requirement
- Fire cape (in practice)
- Detail
- Not enforced, but attempting the Inferno without clearing the Fight Caves comfortably is a waste of an hour.
- Requirement
- Prayer switching
- Detail
- You must switch protection prayers reliably under pressure, repeatedly, for over an hour.
- Requirement
- No banking
- Detail
- Everything you bring is everything you get for 69 waves plus Zuk.
- Requirement
- High Ranged and Hitpoints
- Detail
- Ranged carries the run; low HP means single mistakes become deaths.
You keep your items on death, so failed attempts cost supplies and time rather than gear. Treat your first several runs as paid practice — that is the normal path, not a failure.
Getting There
The Inferno entrance is in Mor Ul Rek, the same TzHaar city that houses the Fight Caves.
- Travel to Karamja and enter the volcano, then make your way into Mor Ul Rek.
- Find the Inferno entrance and speak to TzHaar-Ket-Keh to begin.
- Confirm your supplies before entering. There is no way back to a bank once the first wave starts.
Because runs are long, set up everything before you enter: your escape teleport, your gear layout, and your keybinds for prayer switching.
Recommended Stats
The Inferno is far more about consistency than stats, but low stats compound every other problem. These are the levels where the run becomes a skill test rather than a stat check.
| Stat | Comfortable | Why |
|---|---|---|
| Ranged | 90+ | Blowpipe damage is what clears waves before they overwhelm you. |
| Hitpoints | 90+ | Zuk and triple Jads can kill through a mistimed prayer at lower HP. |
| Prayer | 74+ | Rigour and reliable prayer points across a 70-wave run. |
| Magic | 75+ | For freezes if you use them, and for utility spells. |
| Defence | 70+ | Reduces the cost of small mistakes; does not replace correct prayer. |
- Stat
- Ranged
- Comfortable
- 90+
- Why
- Blowpipe damage is what clears waves before they overwhelm you.
- Stat
- Hitpoints
- Comfortable
- 90+
- Why
- Zuk and triple Jads can kill through a mistimed prayer at lower HP.
- Stat
- Prayer
- Comfortable
- 74+
- Why
- Rigour and reliable prayer points across a 70-wave run.
- Stat
- Magic
- Comfortable
- 75+
- Why
- For freezes if you use them, and for utility spells.
- Stat
- Defence
- Comfortable
- 70+
- Why
- Reduces the cost of small mistakes; does not replace correct prayer.
Gear Setups: Budget, Mid and Best in Slot
The Inferno is a blowpipe run for almost everyone. You want damage per tick, prayer bonus and the ability to switch quickly — not maximum single-hit damage.
| Slot | Budget | Mid | Best in slot |
|---|---|---|---|
| Main weapon | Toxic blowpipe (rune darts) | Toxic blowpipe (amethyst darts) | Toxic blowpipe (dragon darts) |
| Secondary | Rune crossbow | Twisted bow | Twisted bow / Zaryte crossbow |
| Head | Karil's coif | Armadyl helmet | Masori mask (f) |
| Body | Karil's leathertop | Armadyl chestplate | Masori body (f) |
| Legs | Karil's leatherskirt | Armadyl chainskirt | Masori chaps (f) |
| Cape | Ava's accumulator | Ava's assembler | Ava's assembler / Dizana's quiver |
| Amulet | Amulet of fury | Necklace of anguish | Necklace of anguish |
| Ring | Archers ring | Archers ring (i) | Venator ring |
| Gloves | Barrows gloves | Barrows gloves | Zaryte vambraces |
| Boots | Ranger boots | Pegasian boots | Pegasian boots |
- Slot
- Main weapon
- Budget
- Toxic blowpipe (rune darts)
- Mid
- Toxic blowpipe (amethyst darts)
- Best in slot
- Toxic blowpipe (dragon darts)
- Slot
- Secondary
- Budget
- Rune crossbow
- Mid
- Twisted bow
- Best in slot
- Twisted bow / Zaryte crossbow
- Slot
- Head
- Budget
- Karil's coif
- Mid
- Armadyl helmet
- Best in slot
- Masori mask (f)
- Slot
- Body
- Budget
- Karil's leathertop
- Mid
- Armadyl chestplate
- Best in slot
- Masori body (f)
- Slot
- Legs
- Budget
- Karil's leatherskirt
- Mid
- Armadyl chainskirt
- Best in slot
- Masori chaps (f)
- Slot
- Cape
- Budget
- Ava's accumulator
- Mid
- Ava's assembler
- Best in slot
- Ava's assembler / Dizana's quiver
- Slot
- Amulet
- Budget
- Amulet of fury
- Mid
- Necklace of anguish
- Best in slot
- Necklace of anguish
- Slot
- Ring
- Budget
- Archers ring
- Mid
- Archers ring (i)
- Best in slot
- Venator ring
- Slot
- Gloves
- Budget
- Barrows gloves
- Mid
- Barrows gloves
- Best in slot
- Zaryte vambraces
- Slot
- Boots
- Budget
- Ranger boots
- Mid
- Pegasian boots
- Best in slot
- Pegasian boots
Dart tier genuinely matters over 69 waves. Cheap darts turn survivable waves into long ones, and long waves burn prayer.
Bring a freeze option if you use one. Managing Jal-Zek and Jal-Xil positioning is much easier with freezes available.
Inventory and Supplies
A run has no restock, so supply planning is the strategy. The most common cause of a lost Inferno run is not a death at Zuk — it is arriving at Zuk with nothing left.
- Saradomin brews and super restores as the backbone of your inventory.
- Extra darts or bolts — running dry in the 60s is unrecoverable.
- Ranging potions or divine ranging potions for the Jad waves and Zuk.
- A freeze option (ice spells or a freeze weapon) if your route uses one.
- A defensive switch for tanking meleers while repositioning.
- An escape teleport so you can abandon a doomed run without losing extra time.
Budget your supplies against waves, not against how you feel. If you have used half your brews before wave 40, the run is already in trouble and you should adjust your pillar usage rather than pushing on.
Mechanics You Have to Respect
The Inferno's difficulty comes from monsters that interact with each other. Nibblers chew your pillars, magers revive dead monsters, and meleers force you out of position — often at the same time.
| Mechanic | What it does | Correct response |
|---|---|---|
| Jal-Nib (nibblers) | Weak adds that attack the pillars and destroy your safespots. | Kill them promptly with an AoE or splash damage. Losing a pillar early makes later waves much harder. |
| Jal-MejRah (bat) | Drains your stats and prayer at range. | Prioritise it. Prayer drain is what ends long runs. |
| Jal-Ak (blob) | Splits into three smaller monsters using melee, ranged and magic. | Kill it where you have room to handle three styles, not while cornered. |
| Jal-ImKot (meleer) | Fast melee attacker that forces you to keep moving. | Use pillars to break its path, or tank it with a defensive switch while you clear others. |
| Jal-Xil (ranger) | Ranged attacks that punish wrong prayer hard. | Protect from Missiles and kill it before stacking more threats. |
| Jal-Zek (mager) | Powerful magic attacks, and revives dead monsters in the wave. | Kill magers before anything else you want to stay dead. Otherwise the wave loops. |
| JalTok-Jad (waves 67–69) | Same magic/ranged animation switch as TzTok-Jad, but wave 69 has three at once. | Handle them one at a time using pillars to break line of sight; never let all three attack simultaneously. |
| TzKal-Zuk | Immense damage plus a moving shield mechanic; healers spawn partway through. | Stay behind the moving shield to avoid his attacks, and deal with healers when they appear. |
| Jal-MejJak (Zuk's healers) | Spawn during the Zuk fight and heal him rapidly. | Pull them away and kill or freeze them; ignoring them resets your progress on Zuk. |
- Mechanic
- Jal-Nib (nibblers)
- What it does
- Weak adds that attack the pillars and destroy your safespots.
- Correct response
- Kill them promptly with an AoE or splash damage. Losing a pillar early makes later waves much harder.
- Mechanic
- Jal-MejRah (bat)
- What it does
- Drains your stats and prayer at range.
- Correct response
- Prioritise it. Prayer drain is what ends long runs.
- Mechanic
- Jal-Ak (blob)
- What it does
- Splits into three smaller monsters using melee, ranged and magic.
- Correct response
- Kill it where you have room to handle three styles, not while cornered.
- Mechanic
- Jal-ImKot (meleer)
- What it does
- Fast melee attacker that forces you to keep moving.
- Correct response
- Use pillars to break its path, or tank it with a defensive switch while you clear others.
- Mechanic
- Jal-Xil (ranger)
- What it does
- Ranged attacks that punish wrong prayer hard.
- Correct response
- Protect from Missiles and kill it before stacking more threats.
- Mechanic
- Jal-Zek (mager)
- What it does
- Powerful magic attacks, and revives dead monsters in the wave.
- Correct response
- Kill magers before anything else you want to stay dead. Otherwise the wave loops.
- Mechanic
- JalTok-Jad (waves 67–69)
- What it does
- Same magic/ranged animation switch as TzTok-Jad, but wave 69 has three at once.
- Correct response
- Handle them one at a time using pillars to break line of sight; never let all three attack simultaneously.
- Mechanic
- TzKal-Zuk
- What it does
- Immense damage plus a moving shield mechanic; healers spawn partway through.
- Correct response
- Stay behind the moving shield to avoid his attacks, and deal with healers when they appear.
- Mechanic
- Jal-MejJak (Zuk's healers)
- What it does
- Spawn during the Zuk fight and heal him rapidly.
- Correct response
- Pull them away and kill or freeze them; ignoring them resets your progress on Zuk.
Pillar management is the actual mid-game skill. Every wave, ask which pillar you are protecting and which monster is threatening it. Full wave compositions are on the OSRS Wiki Inferno page.
Run Plan and the Zuk Fight
Split the run into phases with different goals: survive cheaply early, protect pillars in the middle, and arrive at Zuk with supplies intact.
- Early waves: clear efficiently and spend as few supplies as possible. Practise your nibbler clears here.
- Kill nibblers before they damage pillars. A destroyed pillar early makes waves 40+ dramatically harder.
- Always kill Jal-Zek magers before other monsters in the wave, so nothing revives behind you.
- Prioritise Jal-MejRah bats to protect prayer points and stats.
- Use pillars to fight one style at a time. Facing a ranger and a mager simultaneously is how good runs die.
- On waves 67 and 68, treat each Jad as its own fight and use line of sight to isolate them.
- On wave 69, isolate the three Jads with pillars. Never stand where more than one can attack you.
- Before Zuk, restore health and prayer as fully as your remaining supplies allow.
- On Zuk, stay behind the moving shield and attack when it is safe. Track the shield's position constantly.
- When healers spawn, pull them away from Zuk, deal with them, then return to the shield pattern.
If you reach Zuk without supplies, you have already lost — and that information is useful. Note which wave drained you and fix that wave next run rather than blaming the ending.
Solo Versus Team
The Inferno is strictly solo. There is no team mode, no scaling and no way to be carried through it in-game.
That is exactly why the infernal cape functions as a credential. Unlike a drop, it cannot be bought from the Grand Exchange or handed over by a team.
If you want the cape but not the hours, that is what a hand-done infernal cape service is for — and the Fortis Colosseum is a shorter solo challenge with a comparable reward.
Common Mistakes and What Actually Kills You
Inferno runs are lost slowly. By the time a death happens, the mistake usually happened twenty waves earlier.
- Letting nibblers destroy pillars in the early waves.
- Killing magers last, so the wave keeps reviving.
- Ignoring bats and running out of prayer in the 50s.
- Fighting two attack styles at once instead of using line of sight.
- Burning brews on damage you could have avoided by repositioning.
- Facing more than one Jad simultaneously on wave 69.
- Losing track of Zuk's shield position while focused on damage.
- Leaving healers on Zuk because you want to finish faster.
- Attempting the Inferno before the Fight Caves feels routine.
Drops Worth Knowing
The Inferno is a prestige unlock, not a money method. Its value is the cape and what the cape signals.
| Drop | Why it matters |
|---|---|
| Infernal cape | The best melee cape in the game and the reason people run the Inferno. |
| Jal-Nib-Rek | The pet, at a low chance on a successful Zuk kill. |
| Tokkul | TzHaar currency earned through the run. |
- Drop
- Infernal cape
- Why it matters
- The best melee cape in the game and the reason people run the Inferno.
- Drop
- Jal-Nib-Rek
- Why it matters
- The pet, at a low chance on a successful Zuk kill.
- Drop
- Tokkul
- Why it matters
- TzHaar currency earned through the run.
Combat Achievements
Inferno Combat Achievements are among the hardest in the game and include restricted completions and no-death-style requirements. They are for players who already clear the Inferno consistently.
Get one clean cape first. Chasing a restricted task on an early attempt just makes an already long run longer.
Ironman Notes
For an Ironman the infernal cape is a genuinely enormous unlock because it cannot be traded and it is best in slot for melee.
The gating factor is supplies: saradomin brews and super restores in the quantities an Inferno run needs represent a real Herblore and Farming project. Stockpile before attempting, and expect several attempts.
Blowpipe darts are also a bottleneck on an iron. Plan your dart supply as carefully as your food, because running out of ammunition wastes the whole run.
FAQ
Do I need a fire cape before the Inferno?
Not as a game requirement, but yes in practice. If the Fight Caves are still hard for you, the Inferno will end an hour of your time with nothing to show.
Do I lose my gear if I die in the Inferno?
No — you keep your items. Failed attempts cost supplies and time only, which is why practice runs are the normal way to learn it.
Why do people say pillars matter so much?
Pillars let you break line of sight so you fight one attack style at a time. Nibblers destroy pillars, which is why killing nibblers early decides how hard the late waves are.
Which monster should I always kill first?
Jal-Zek magers, because they revive other monsters, and Jal-MejRah bats, because they drain prayer. Everything else can wait.
How do I survive wave 69's triple Jads?
Isolate them. Use pillars and positioning so only one Jad can attack you at a time, and treat each as an individual fight.
How many attempts does it usually take?
That varies far too much between players to give a meaningful number. Most people need several serious runs, and each failed run teaches you which wave is draining your supplies.
Related Guides
- Fire cape guide — the prerequisite in practice.
- Triple Jads guide — wave 69 in detail.
- Fortis Colosseum guide — the other solo wave challenge.
- Boss gear progression — building the ranged setup this needs.
- Prayer 1–99 — getting to Rigour-capable Prayer.
- OSRS bosses index — every boss with its requirement.
Bottom Line
The Inferno rewards preparation and punishes improvisation. Protect your pillars, kill magers and bats first, never fight two styles at once, and arrive at Zuk with supplies left.
You keep your items on death, so the only real cost of learning is time and consumables. Treat early runs as data collection: find the wave that drains you and fix that one thing.
If you want the cape without the grind, our infernal cape service is hand-done from start to finish.
Mechanics and drop rates change with updates. Verify current details on the Old School RuneScape Wiki.
Need a trusted team? Bils Services
Enjoyed the guide?
Drop a like — it helps other Adventurers find the good stuff.
Community
Comments
Silence in the hall…
Be the first Adventurer to leave a mark.
Join the thread
Add a comment
Tips, drops, or “this carried my account” — keep it useful.
bilsservices · bils services · bilsservices.com

