


OSRS Boss Guides: Mechanics, Gear and Drops
Boss guides covering access requirements, recommended stats, budget through best-in-slot gear, every important mechanic, and the drops worth chasing. Start with the bosses list if you are not sure what to learn next.
Need it done rather than read? PvM services is the matching hand-done service.
91 guides · page 2 of 4

OSRS Awakened Bosses Guide: All DT2 Awakened Strategies
Awakened DT2 hub covering all four awakened bosses and attempt budgeting.
Read more →
OSRS The Whisperer Guide: Sanity, Gear, Mechanics & Drops
Whisperer guide built around sanity management, gear, and DT2 drops.
Read more →
OSRS The Leviathan Guide: Prayer, Stun Mechanics, Gear & Drops
Leviathan guide for stun windows, prayer, and ranged-oriented DT2 kills.
Read more →
OSRS Duke Sucellus Guide: Prep Phase, Gear, Mechanics & Drops
Duke Sucellus guide for prep phase, supplies, and calm kill execution.
Read more →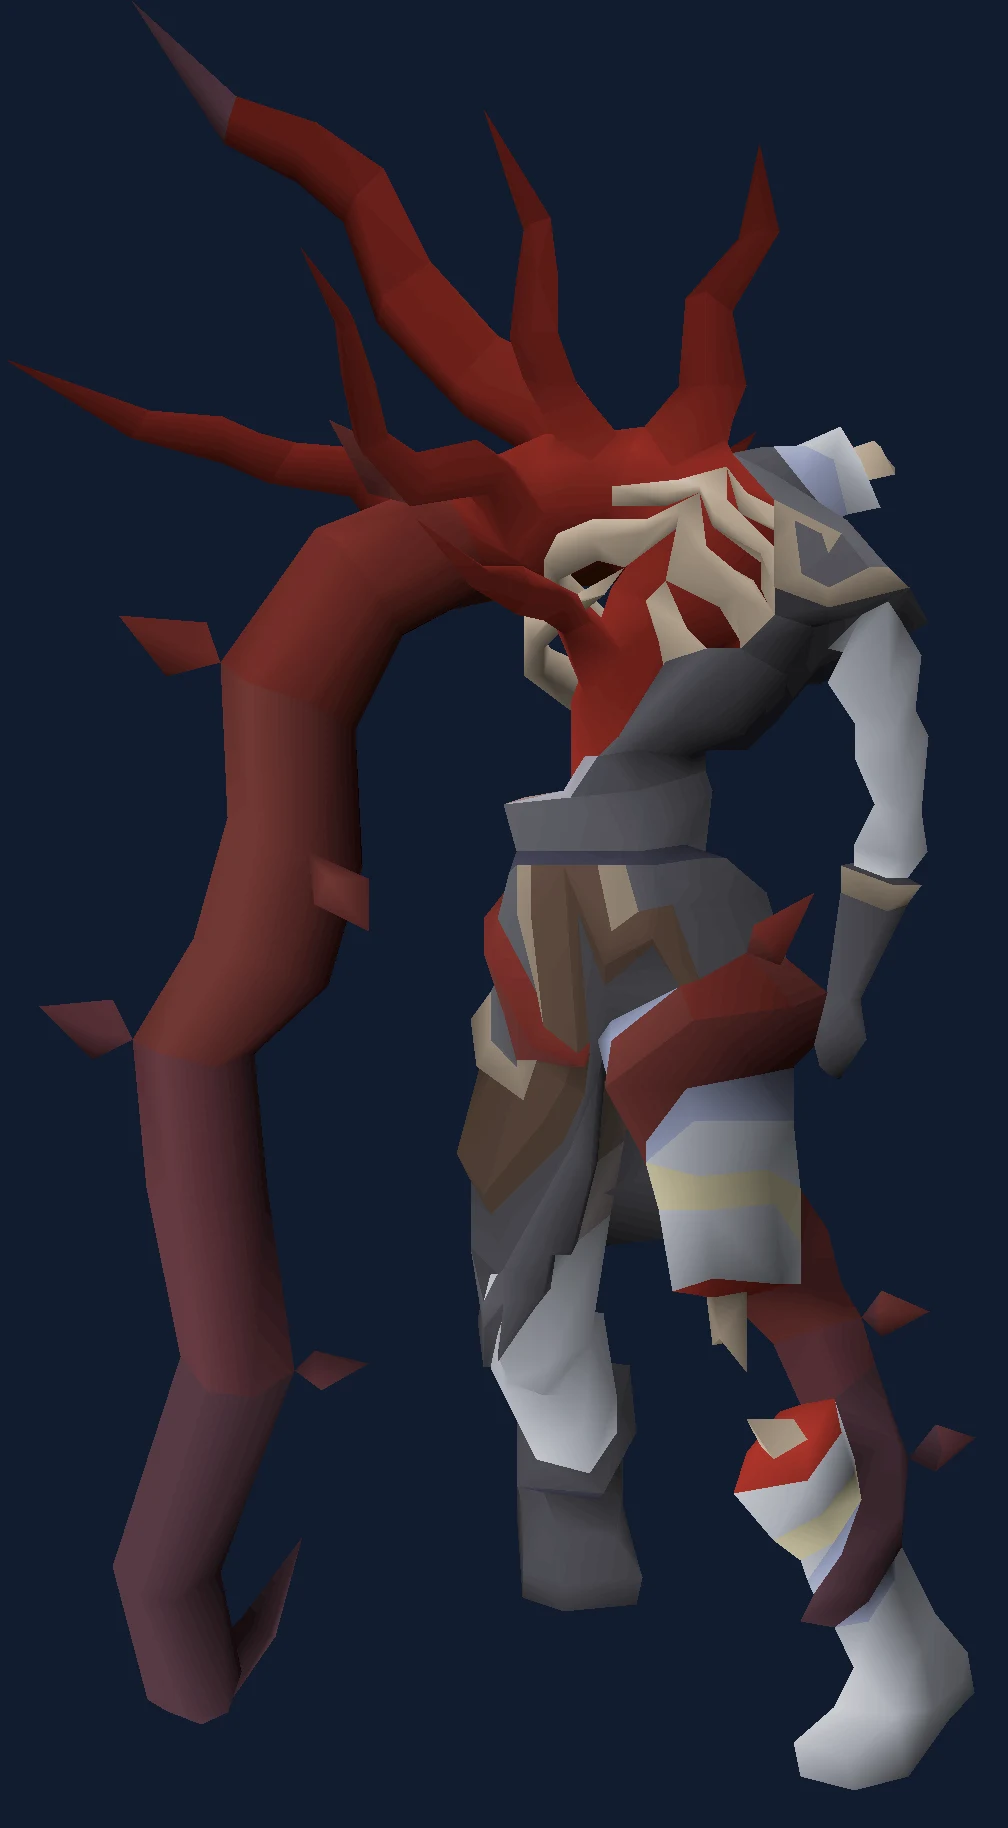
OSRS Vardorvis Guide: Axe Mechanics, Gear, Strategy & Drops
Vardorvis guide focused on axe swings, melee setups, and DT2 unique chase.
Read more →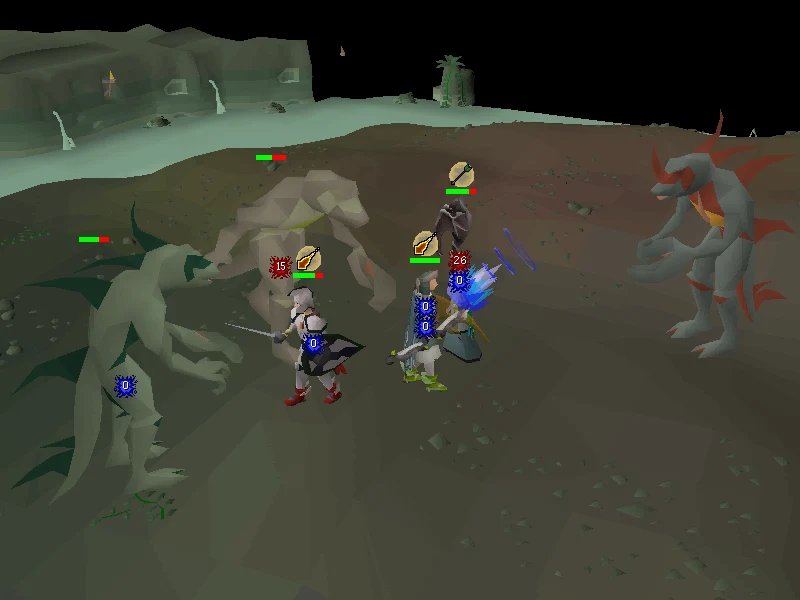
OSRS Dagannoth Kings Guide: Tribrid Setup, Rotation & Solo Strategy
DKs hub for tribrid inventories, kill rotation, and solo strategy.
Read more →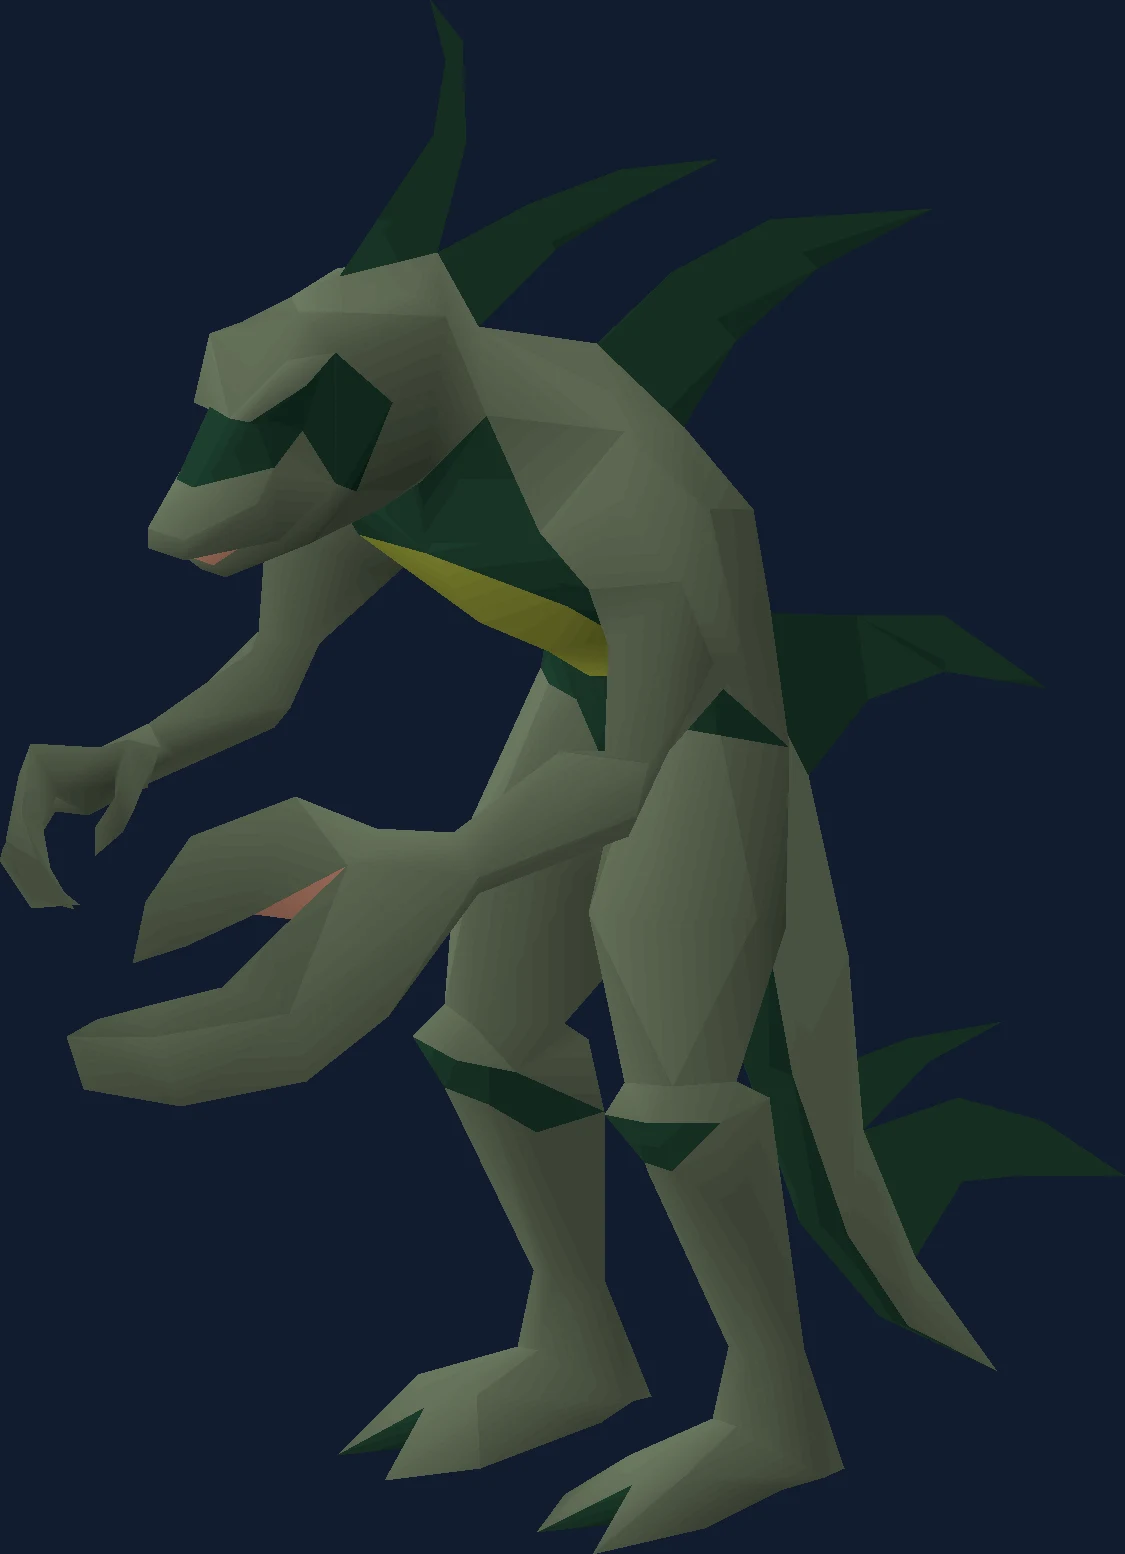
OSRS Dagannoth Supreme Guide: Best Gear, Strategy & Drops
Dagannoth Supreme guide for ranged setups and archer ring goals.
Read more →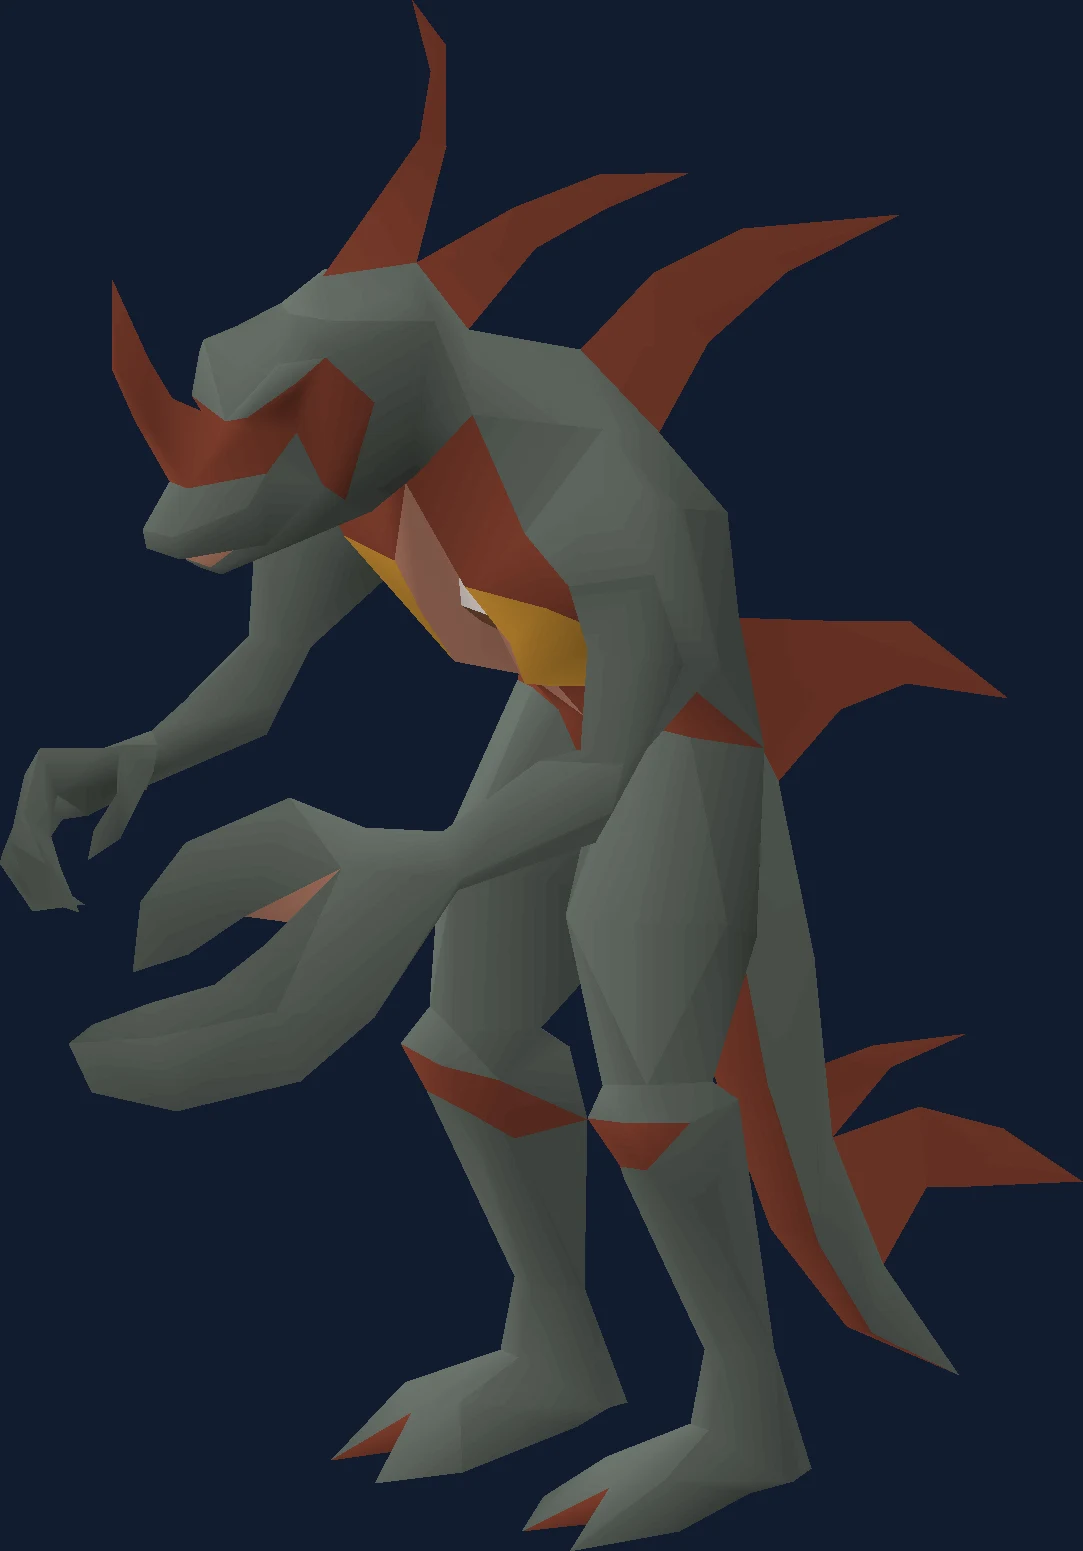
OSRS Dagannoth Prime Guide: Best Gear, Strategy & Drops
Dagannoth Prime guide for magic setups, positioning, and seers ring chase.
Read more →
OSRS Dagannoth Rex Guide: Safe Spot, Gear & Drops
Dagannoth Rex guide for safe spotting, warrior rings, and solo habits.
Read more →
OSRS God Wars Dungeon Guide: Requirements, Kill Count & Boss Progression
GWD hub: kill count, entry requirements, and which God Wars boss to learn first.
Read more →
OSRS K’ril Tsutsaroth Guide: Solo Methods, Gear & Zamorak Drops
K’ril guide for solo methods, prayer flicks, and Zamorak unique chase.
Read more →
OSRS Kree’arra Guide: Chinning, Gear & Armadyl Drops
Kree’arra guide for chins, ranged setups, and Armadyl armour EV.
Read more →
OSRS Commander Zilyana Guide: Kiting, Gear & Saradomin Drops
Zilyana guide focused on kiting, magic setups, and Saradomin unique chase.
Read more →
OSRS General Graardor Guide: Solo Methods, Gear & Bandos Drops
Graardor guide for solo methods, Bandos armour chase, and KC efficiency.
Read more →
OSRS Revenant Maledictus Guide: Spawn Mechanics, Gear & Drops
Revenant Maledictus guide for spawn conditions, gear, and wilderness loot.
Read more →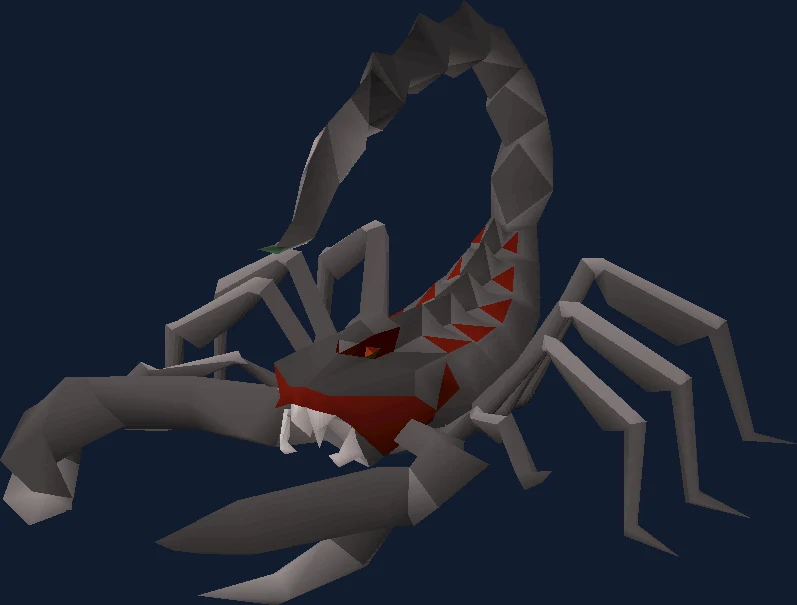
OSRS Scorpia Guide: Best Gear, Freezing Strategy & Drops
Scorpia guide for freezing guardians, wilderness risk, and drop EV.
Read more →
OSRS Crazy Archaeologist Guide: Gear, Mechanics & Drops
Crazy Archaeologist guide for book specials, gear, and wilderness habits.
Read more →
OSRS Chaos Fanatic Guide: Safe Strategy, Gear & Drops
Chaos Fanatic guide for safer wilderness kills, gear, and loot reality.
Read more →
OSRS Chaos Elemental Guide: Gear, Inventory Mechanics & Drops
Chaos Elemental guide for inventory disruption, wilderness risk, and drops.
Read more →
OSRS Venenatis Guide: Team Strategy, Web Mechanics & Drops
Venenatis multi guide for webs, team piles, and wilderness unique chase.
Read more →
OSRS Spindel Guide: Gear, Web Mechanics, Anti-PK Tips & Drops
Spindel (Venenatis single-way) guide for webs, anti-PK, and loot.
Read more →
OSRS Vet’ion Guide: Team Strategy, Mechanics & Drops
Vet’ion multi guide for team strategy, skeleton phases, and wilderness risk.
Read more →
OSRS Calvar’ion Guide: Safe Spot, Gear, Mechanics & Drops
Calvar’ion (Vet’ion single-way) guide for safer kills, gear, and drop expectations.
Read more →
OSRS Callisto Guide: Team Strategy, Gear, Anti-PK Tips & Drops
Callisto multi guide for team piles, anti-PK habits, and unique chase planning.
Read more →